
Tax classes
On this page
Tax classes let you charge different tax rates on different dishes. For example, food can use your Standard rate while drinks use a second rate. You create classes under the Taxes settings, give a class to a food category or to a single menu item, and RestroPress taxes each item at its own rate. Each class can carry an optional tax code (for example an HSN or SAC code) that is printed with the tax on receipts. If you never add a class, tax works exactly as before.
Turn it on#
Tax classes are part of the Taxes settings and need taxes to be enabled. Go to RestroPress › Settings › Taxes and tick Enable Taxes (off by default). The class pickers on categories and menu items only appear while Enable Taxes is on. The existing tax settings (Tax Name, Tax rate, Display fooditems in shop, Prices entered with tax) are described in Settings and options.
Set it up#
1. Add your tax classes#
- Go to RestroPress › Settings › Taxes. Below Tax rate you will find Standard tax code and the Tax classes table.
- Optionally type a code in Standard tax code. It is printed with the Standard tax on receipts.
- The first row of the table is always Standard, marked Default. Its rate and code come from Tax rate and Standard tax code and cannot be edited in the table. If no rate is set it shows Not set.
- Click Add tax class. Fill in Class name (for example Beverages), Rate as a percentage and, if you want one, Tax code.
- Click Save Changes.
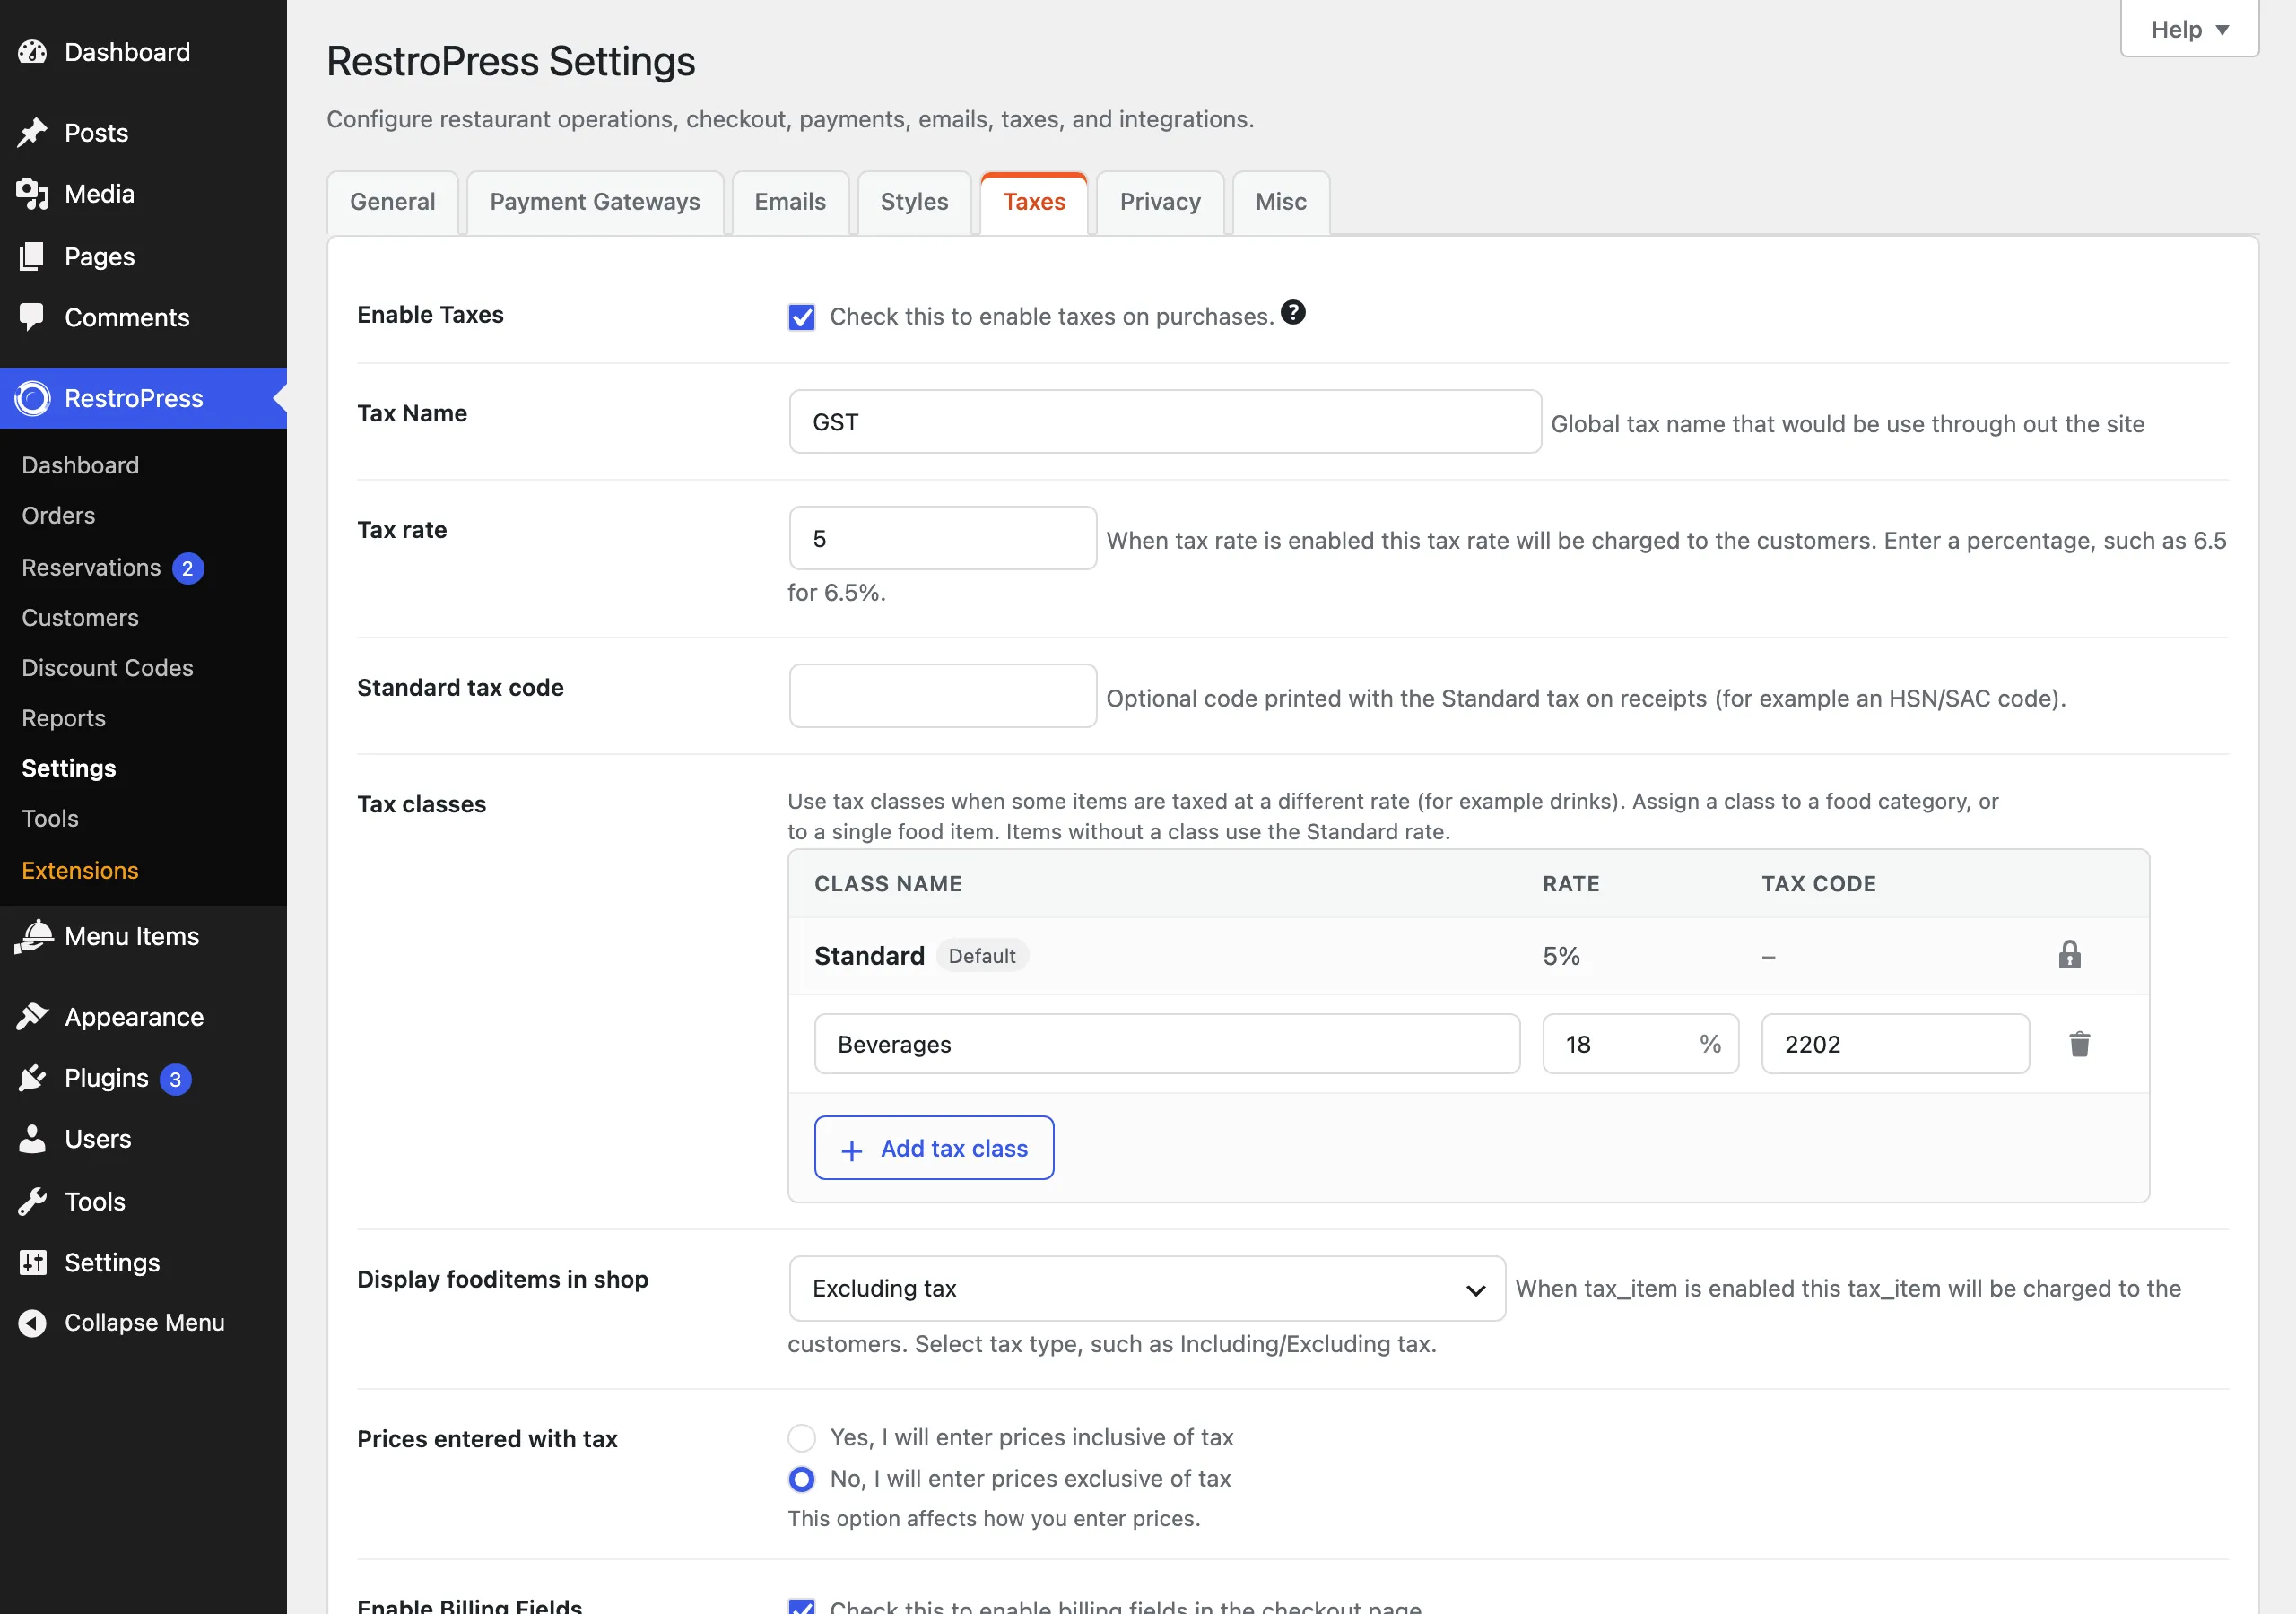
The rate accepts values from 0 to 100 with up to four decimals, and a comma is read as a decimal point. A class with an empty name is dropped when you save. To remove a class, click the trash icon on its row (the row is struck through and an Undo link appears), then save. Items that used a deleted class go back to Standard.
2. Assign a class to a category#
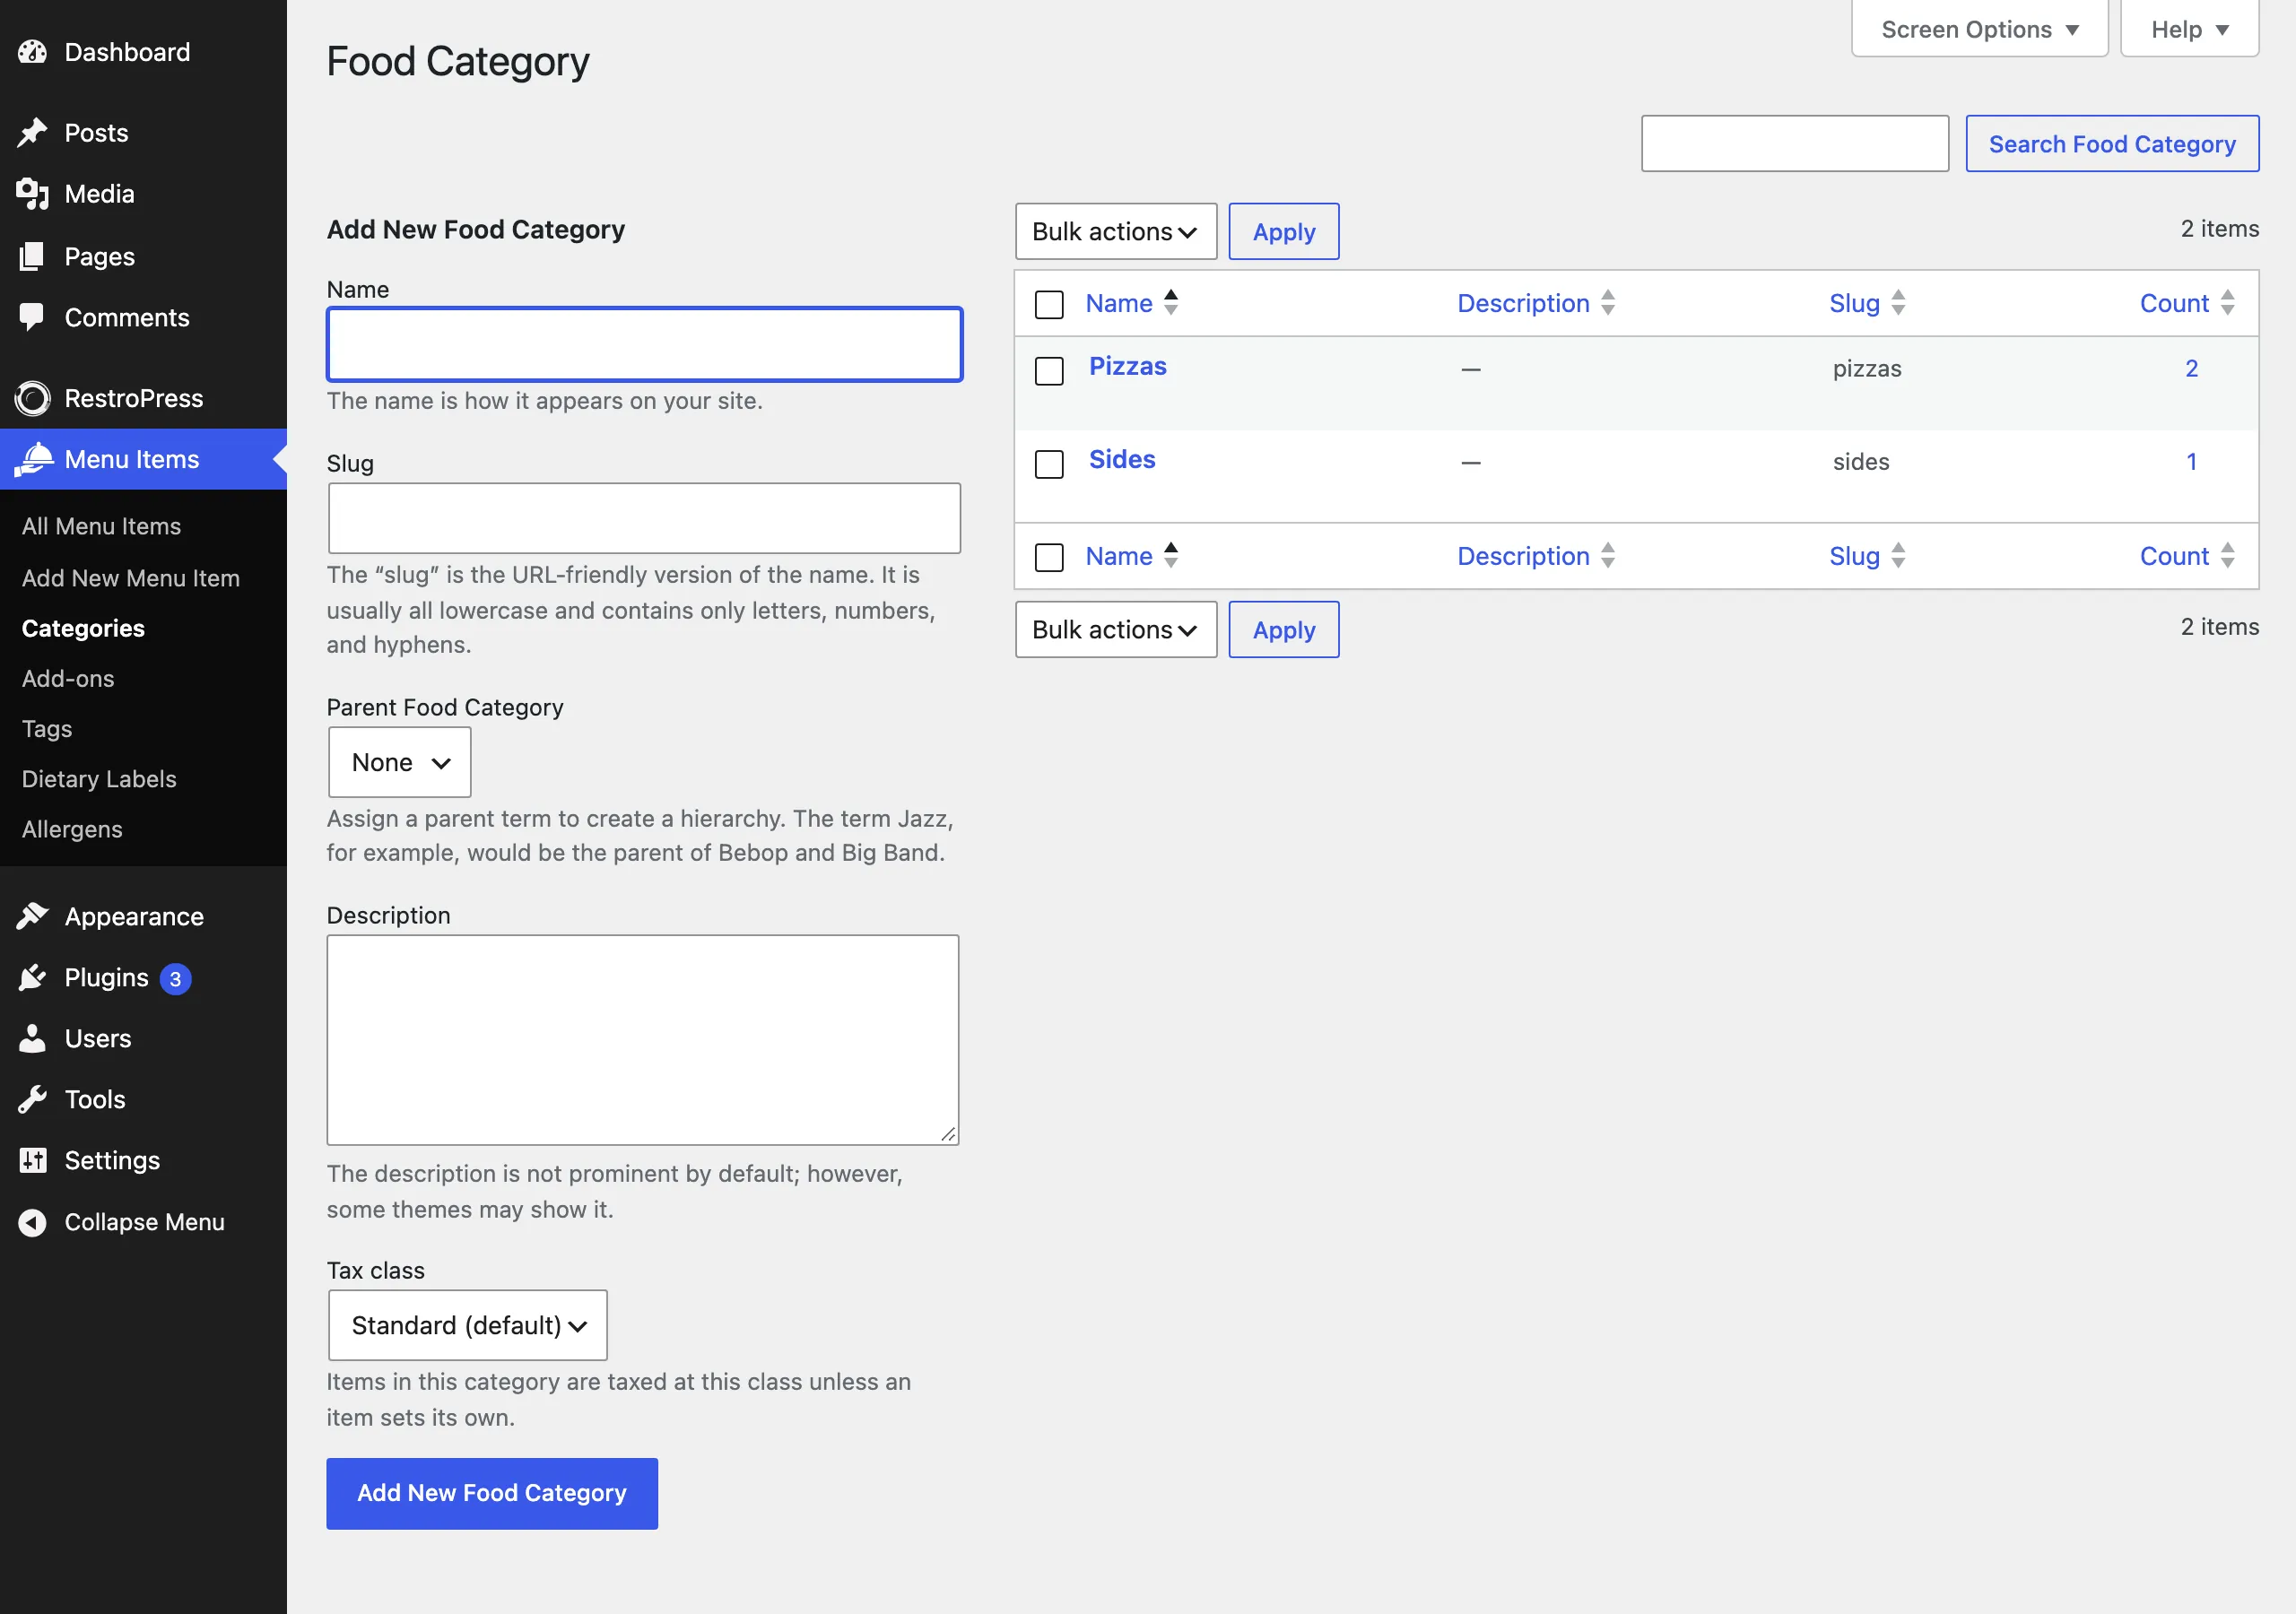
- Go to Menu Items › Categories and add or edit a category.
- In the Tax class field choose a class. The default, Standard (default), means no override. The note reads: "Items in this category are taxed at this class unless an item sets its own."
3. Override a single menu item#
- Edit the menu item. In the side column there is a Tax class box.
- Choose a class, or leave Use category default. The note reads: "Override the tax class of this item's category."
The class names in both lists show their rate, for example "Beverages (18%)".
How it works#
RestroPress picks a menu item's class in this order: the item's own Tax class, then the first of the item's categories that has a class, then Standard. An item in several categories uses the first category that has a class set.
- Menu and cart. The tax rate used for a menu item's price display and for the cart is the rate of its class. Add-ons are taxed at the rate of the item they belong to.
- Discounts. When a cart mixes rates, a discount reduces each line before that line is taxed at its own rate.
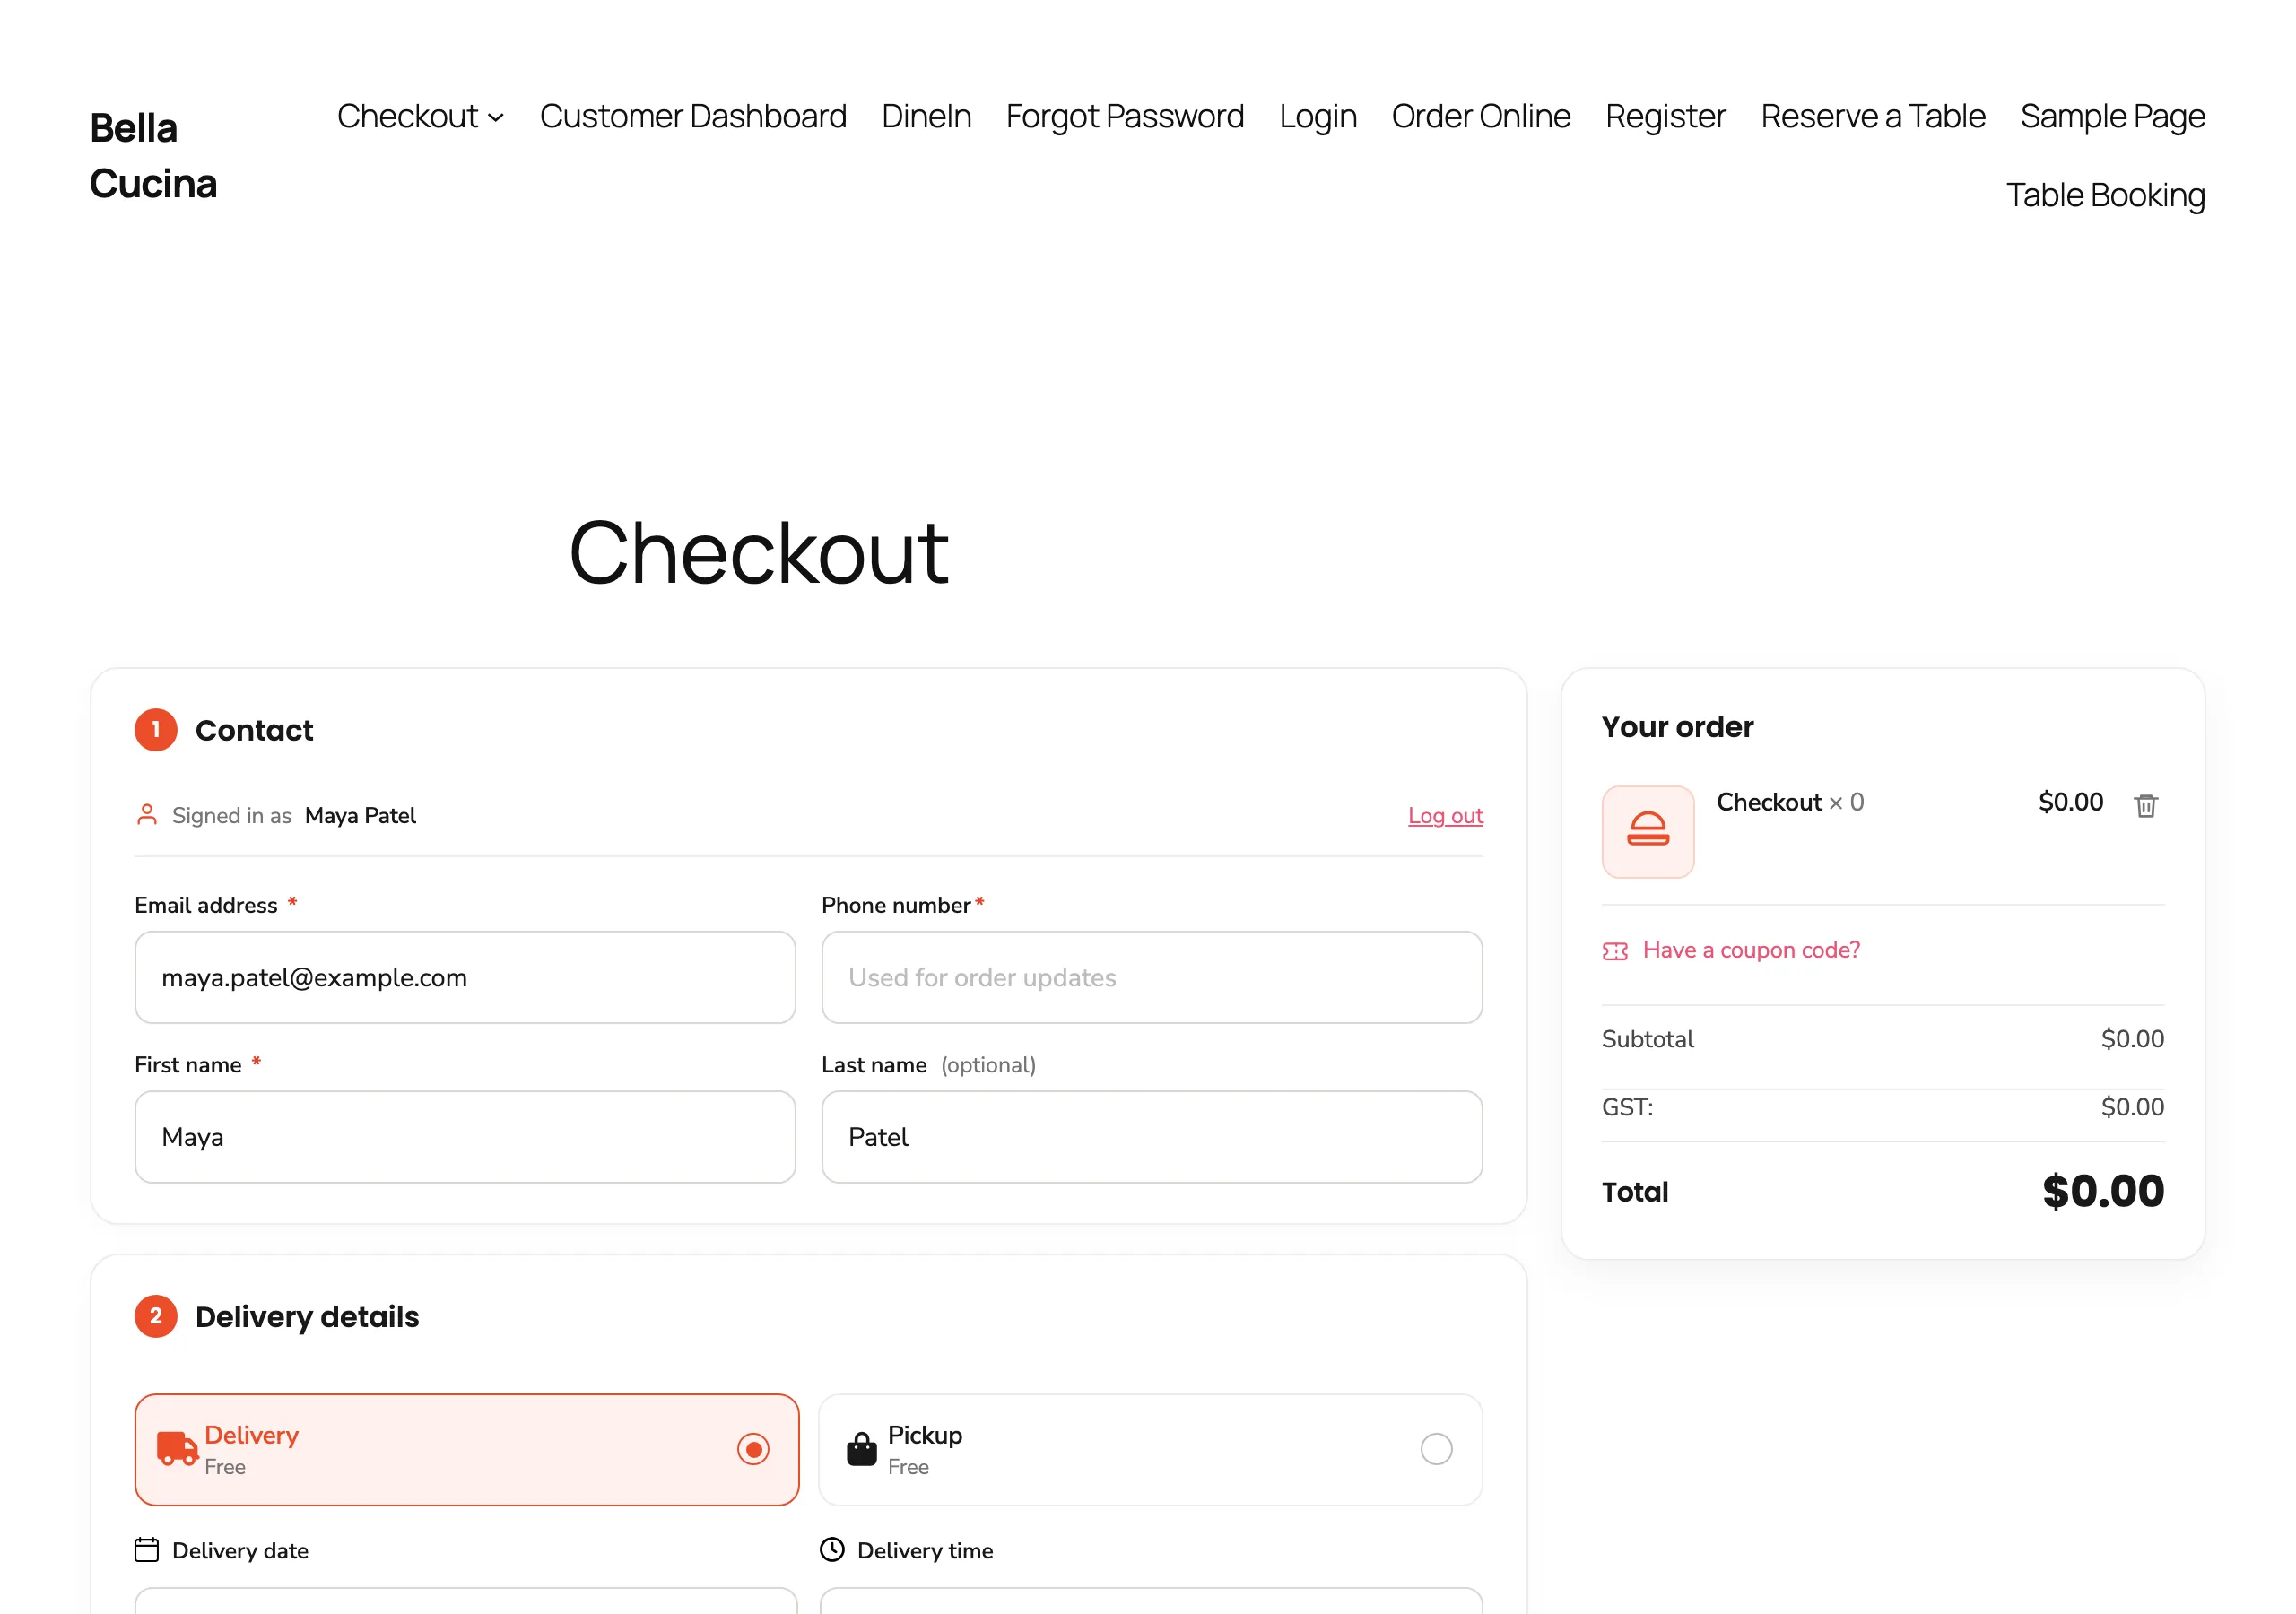
- Checkout. If the cart contains items at more than one rate, rows appear under the tax total, one per class, for example "GST Beverages 18% (code)", each with its tax amount. A cart at one rate shows no extra rows.
- Receipt and order screens. When an order is placed RestroPress stores the tax per class on the order, so later changes to your classes or rates do not alter past receipts. The receipt, the customer's order page and the admin order screen show one row per class when the order used more than one class.
- The tax name. The row label starts with your Tax Name setting. If it is empty the text "Estimated Tax" is used.
Emails and notifications#
A new email tag is available in email templates: {tax_breakdown}, described as "Tax per tax class (only when an order mixes tax rates)". It prints one line per class, such as "GST Beverages 18% (code): $4.50". For an order with a single rate it prints nothing.
Good to know#
- Standard always exists. Its rate is the Tax rate field, so a store with no extra classes behaves exactly as it did before 3.5.
- Classes are saved when you save the Taxes tab. Adding or deleting a class does not change orders already placed.
- The per-class rows are shown on a receipt or order when the order contains tax from two or more classes. At checkout they are shown when the lines have two or more different rates, so two classes with the same rate give rows on the receipt but not at checkout.
- Tax code is text only. RestroPress prints it next to the tax row. It does not send the code to payment gateways.
- Standard items still go through RestroPress' normal tax rate lookup, so existing filters on the Standard rate keep working. Other classes use their own fixed rate.
For developers#
| Name | Type | Purpose |
|---|---|---|
rpress_tax_classes | Filter | The list of classes (slug to name, rate, code). |
rpress_fooditem_tax_class | Filter | The class slug chosen for an item. |
rpress_fooditem_tax_rate | Filter | The decimal rate used for an item (0.05 for 5%). |
rpress_tax_breakdown | Filter | The per-class tax rows for a set of lines. |
rpress_receipt_after_tax_row | Action | Fires under the tax row on the receipt (order ID, context). |
rpress_admin_order_after_tax_row | Action | Fires under the tax row on the admin order screen (order ID, context). |
rpress_tax_classes_editor | Action | Renders the Tax classes table in the settings. |
rpress_get_tax_classes(), rpress_get_fooditem_tax_class(), rpress_get_fooditem_tax_rate(), rpress_get_fooditem_tax_percent(), rpress_get_tax_breakdown(), rpress_lines_have_mixed_tax_rates(), rpress_get_order_tax_breakdown() | Functions | Read classes, an item's class and rate, and an order's stored breakdown. |
rpress_tax_classes (option), _rpress_tax_class (term and post meta), _rpress_tax_breakdown (order meta) | Data | Where classes, assignments and each order's breakdown are stored. |