Add food items
In this document, we will show you how to create a food list along with its necessary fields.
To create a complete food list, you need to create a page.
And for that, go to Pages, Add New page and name it Food List or your desired name of the page.
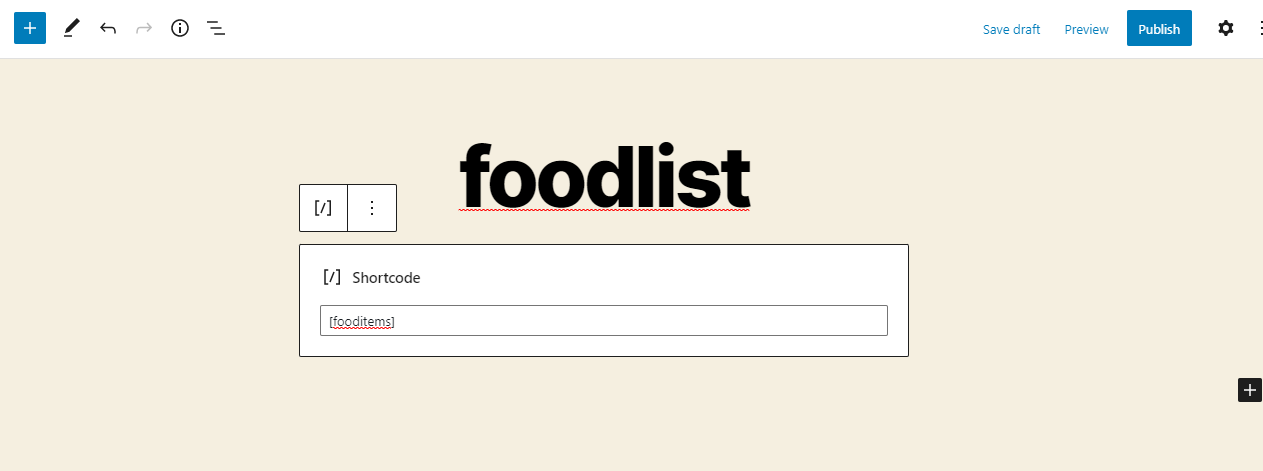
In the description part, add [fooditems] shortcode that will allow you to show all your food items on the Food List page.
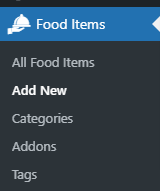
Go to Food Items -> Categories and Setup your required food categories.

Go to Food Items -> Add New and enter the name of the food item on along with the description of it in the description box.
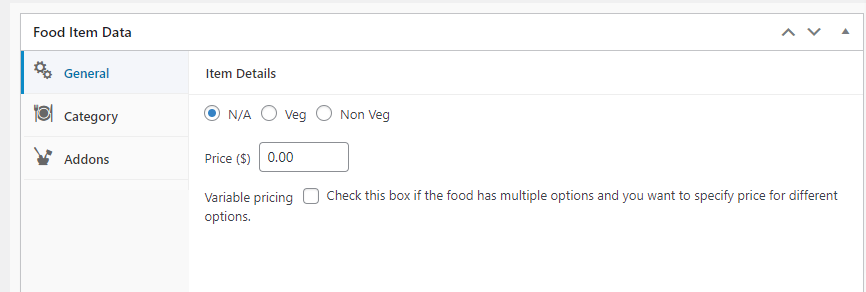
Scrolling down to Food Item Data, go to general where you will find the option to select the item details that include Price and tags.
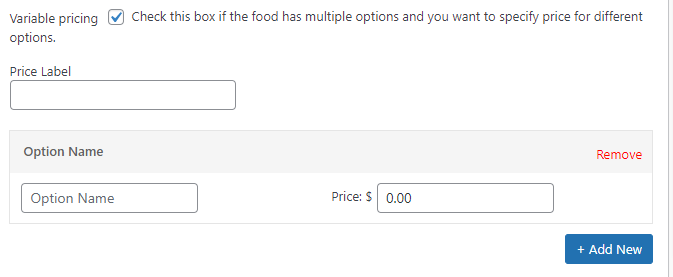
Variable pricing option allows you to add variable prices for the same food item. You need to check variable pricing box and you will get the price label option and add a variable item with its price.
 .
.
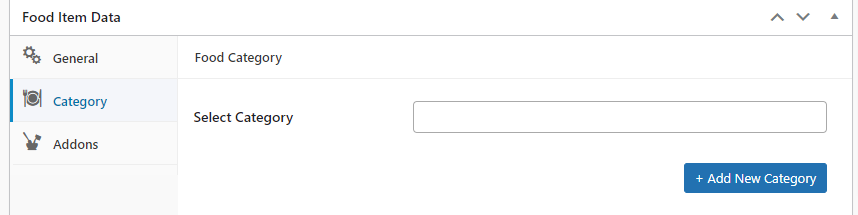
You will get the category option below the general where you can either assign the food item to an existing category or you can also create a new category and assign it to a parent category or just create a category.
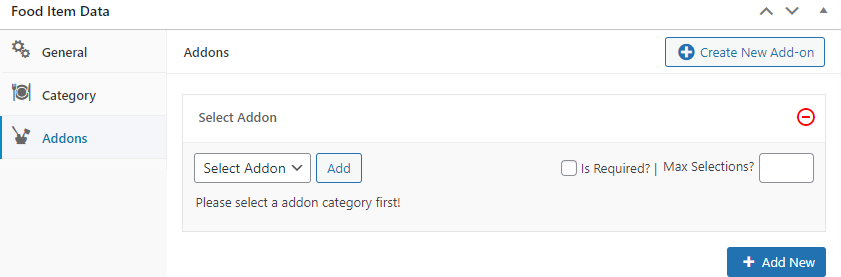
You can define the addons for a specific food item from the option.
You can also make the addons required so that if you want that selection of addon should be mandatory then you can check the box.
You can also limit the number of addon selections by enabling max selection option.
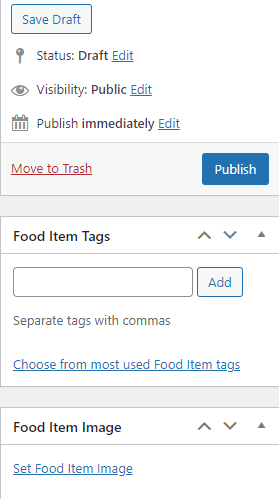
Scrolling down to the page, on the right sidebar, you can find the option to set Food Item Image.
 .
.
Click on Publish button that is available in the right sidebar.
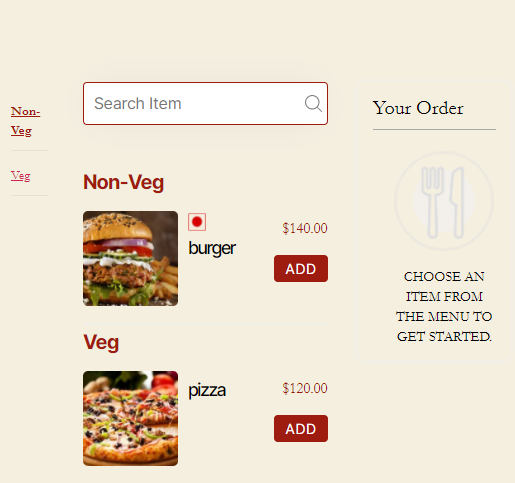
Your Food list is now successfully created, you can check it on your website on the food list page.
 .
.
Create Food Addons
You can also create a new addon by clicking on Addon Category option that is available under RestroPress tab.
 .
.
Enter the Name of the addon. Don’t fill the Slug. And as you need to create a parent addon first so you don’t need to assign any Parent Addon Category . You can add the description of the addon item.
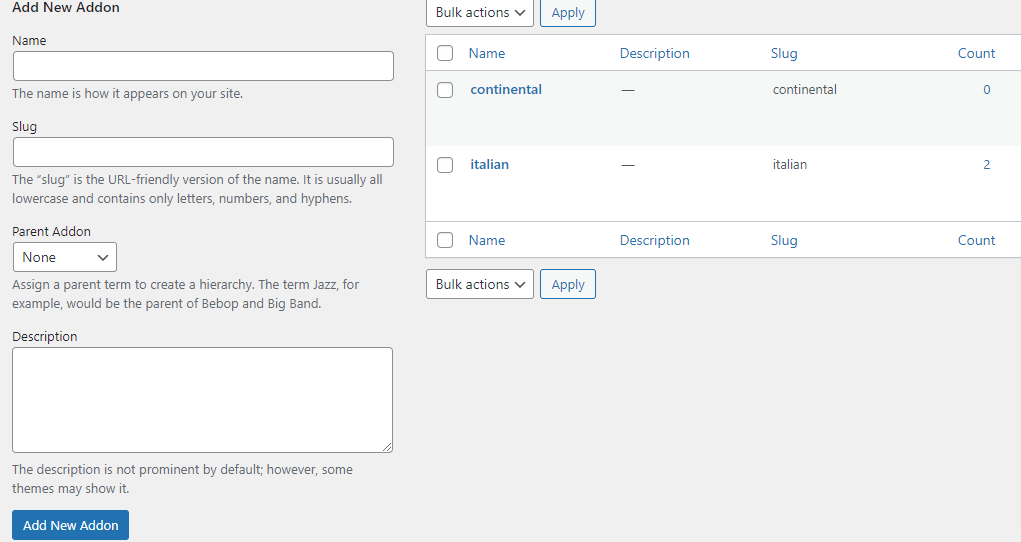
You can click on the Add New Addon Category Button.
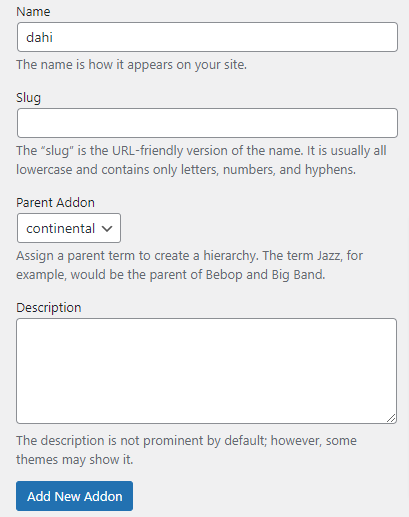
Once you have created the parent Addon, you can again select that option and create the further addons and also assign the parent addon by selecting the option.
 .
.
You have now successfully created an addon.
Add Price to the Addons
Remember, you can add a price only to the child addons. You have to assign a parent addon to add the price.
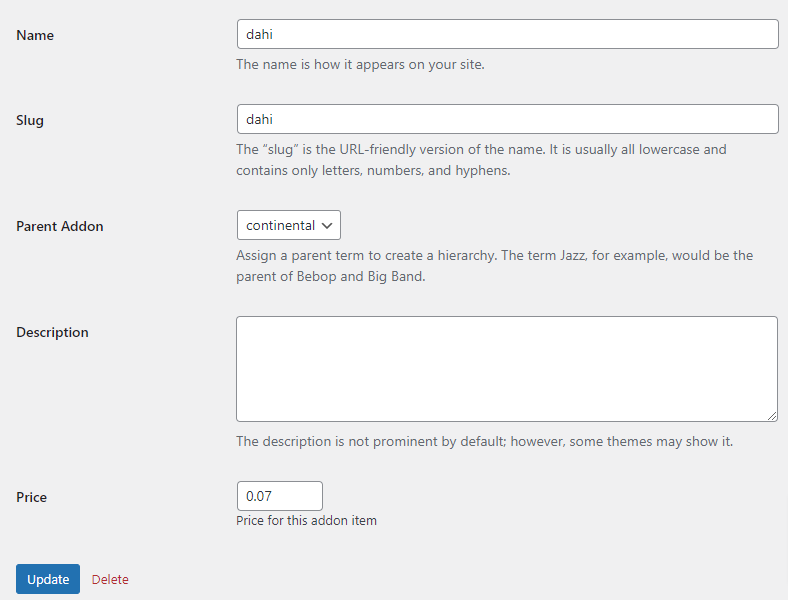
Now, click on the Edit option for the Addon to edit the addon and you can find that option below the addon.
Enter your desired price. And click on the Update button to save your entered price.
You can also add Food Item Tags from Tags option available under RestroPress tab.
.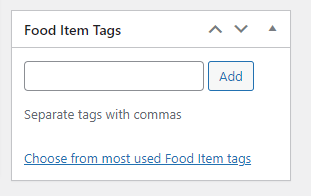
Enter Food Item tags in Name option and add its corresponding Description.
And click on Add New Food Item Tag button to save the Tag.
Your food item is successfully created.